Shorts Thumbnail Generator Workflow: Get Eye-Catching Video Thumbnails Every Time
You just published a new Short only to realize you can’t upload a custom image thumbnail from your desktop. That frustration stops your momentum instantly. If you want eye-catching video thumbnails that drive clicks on the Shorts shelf and in search, you need a repeatable system, not a hack.
As your AI Creative Buddy, I’m giving you the reliable, AI-assisted 3-step workflow that top creators use to generate YouTube Shorts covers consistently. The solution is to design a "thumbnail frame" inside your video and pick it using the mobile app’s auto thumbnail selector.
This guide is your blueprint for creating mobile-friendly thumbnails that work every time.
Step 1: Design Your On-Video Thumbnail Frame (Inside 9:16)
Since desktop uploads remain inconsistent, you must build a strong, legible “thumbnail frame” as part of your Short itself. Think of it as a bold title card that grabs attention, even as a tiny tile on a phone.
Set Your Canvas: Start with a vertical 1080 × 1920 (9:16) canvas.
Compose for Clarity: Design a bold, uncluttered frame with one clear subject (a face or product) and very short text (4 to 6 words max).
Maximize Legibility: Use large, heavy sans-serif fonts and high contrast (e.g., light text on a dark background). Add a subtle outline or shadow for maximum readability.
Safe Placement: Keep key content centered and away from edges. Leave generous top and bottom margins to avoid UI occlusion and unpredictable crops.
Pro Tip: Where to Place the Frame
Place this designed frame at the very start of your Short for 0.5 to 1.0 seconds. Optionally, repeat it briefly around the 2 to 3 second mark. This increases the chances that the auto thumbnail selector tool finds an ideal candidate.
Why This Works: Small-screen hierarchy requires big type and a single focal point to read well at a glance. Practical design roundups emphasize legibility and contrast for thumbnails on small screens, as noted in Spiel Creative’s Best Practices (2025). Centering content also avoids UI occlusion, a necessary step explained in guides like RouteNote’s Edit Shorts Thumbnail walkthrough.
Step 2: Use AI to Generate Variants and Stress-Test Legibility
This is where you accelerate the process of becoming an expert shorts preview image maker. Instead of manually creating a single option, use AI to quickly create and test multiple versions to find the clearest winner.
Ideate Variants: Quickly ideate 6 to 12 variants. Change the hook line (fewer words), background color, and subject crop while keeping the same layout and brand elements.
Batch and Insert: Batch-render your variants and insert each as the first 0.5 to 1.0 seconds of a duplicate Short, ready for testing.
Stress-Test Clarity: Zoom out on your phone until the frame is ~ 2 to 3 inches tall. If you can’t read it instantly, simplify the text or boost the contrast. Free tools like the AIThumbnail.so thumbnail tester (2025) can help simulate small sizes.
The NemoVideo Advantage: Your AI Shorts Thumbnail Generator
If you're creating many Shorts weekly, a tool that can surface strong frames and generate variant layouts is essential. NemoVideo acts as a powerful shorts thumbnail generator. We use AI to auto-surface key visuals from your footage and generate YouTube Shorts covers variants for quick testing, cutting down your manual steps significantly.
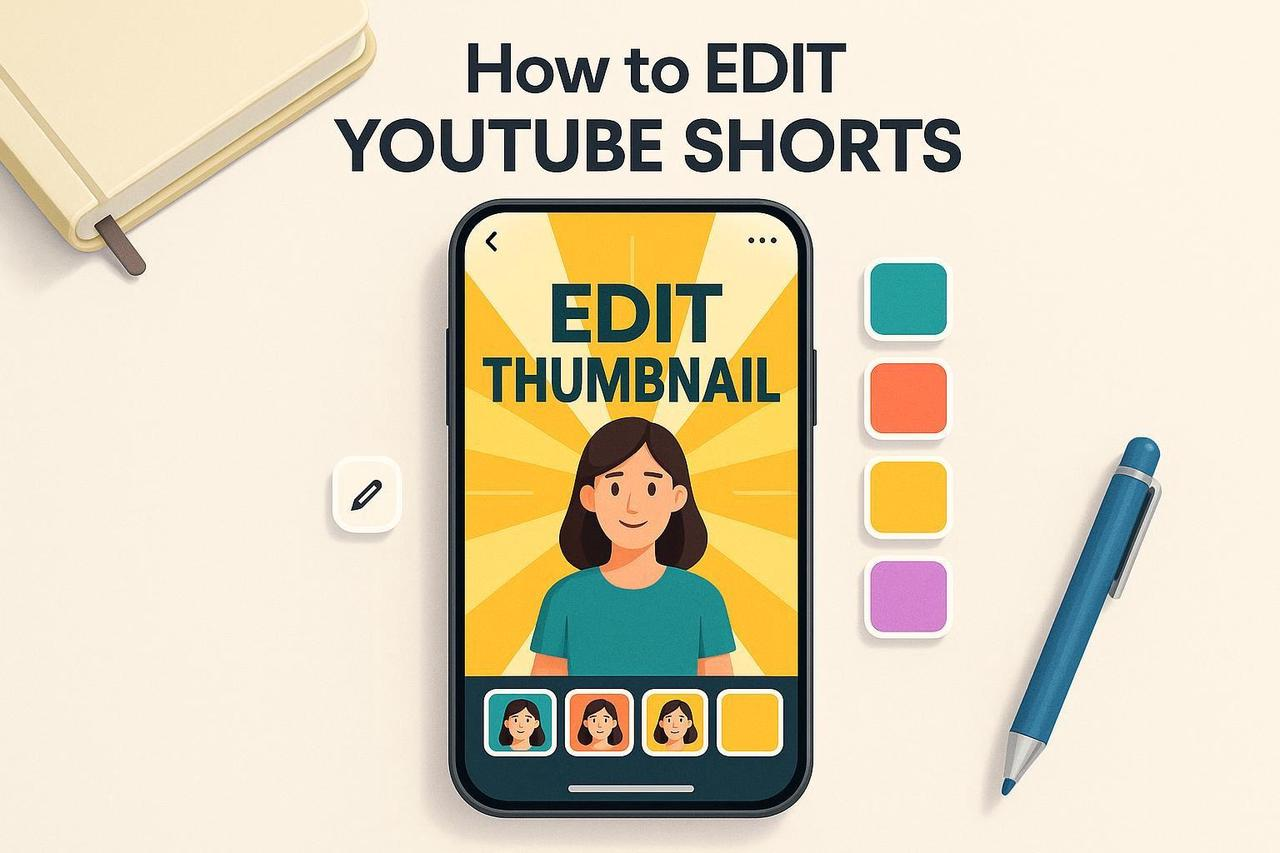
Step 3: Publish and Select the Exact Frame in the YouTube App
Once your Short contains the designed frame, you must use the mobile app’s frame selector to make it official. This is the only reliable way to control your shorts preview image maker output.
The Mobile Selection Flow
Open the main YouTube app (not YouTube Studio).
Go to your channel’s videos. Find the Short and tap the three dots or Edit (pencil).
Tap the small thumbnail pencil overlay.
Drag the bottom slider to your designed frame, then tap Save/Done.
This "pencil + slider" flow is widely shown by creators and summarized in guides like the TubeBuddy update (2024–2025) and this concise YouTube tutorial.
Verify It Worked (Crucial Check)
Shorts thumbnails appear on your channel page (Shorts shelf) and in search results. They do not appear inside the vertical Shorts feed itself.
Check Your Channel: In the YouTube app, go to your channel’s Shorts shelf and confirm the selected frame is visible.
Check Search: On desktop, check an incognito window and search for your exact title to ensure the image matches.
Inconsistency Fix: If it’s inconsistent, reopen Edit on mobile, re-select the frame, then wait and re-check after a few minutes.
Why You Must Verify: As guides like RouteNote’s walkthrough emphasize, the thumbnail is critical for discovery on the channel page and search surfaces, not the vertical reel.
Troubleshooting Common Issues
If This Happens | Try This Fix | Reference |
Can’t find the edit option. | Make sure you’re in the main YouTube app, not YouTube Studio. Update the app. Availability can vary by version. | |
Thumbnail isn’t updating everywhere. | Give it time; it can take hours to propagate. Clear cache or check incognito. | |
Frame looks cropped or covered. | You need more margin. Keep crucial text/face centered and avoid the edges. Re-export and re-select. | |
Safety Flag. | YouTube applies content policies to thumbnails. Avoid misleading or vulgar visuals. | Review YouTube’s official policy page. |
Pro Tips for Consistent Wins
Design Once, Reuse Often: Create a brand "thumbnail frame" template with safe margins and text styles. Only swap hook text and colors between videos.
Simulate Tiny Tiles: Always zoom out or use a tester to check readability before export.
Keep It Honest: Match the first second of the Short to the selected frame so viewers immediately see what they were promised.
You now have a reliable, repeatable workflow to control your visual narrative. If you’re producing at scale, the only way to keep up is with a shorts thumbnail generator like NemoVideo that supports auto thumbnail selector generation and batch testing.