How to Use Kling Motion Control Step-by-Step (2026)
I'm Dora. Imagine this: You excitedly upload a cool character image and a flawless dance reference video, eagerly anticipating a killer short film. Then... the character suddenly sprouts three arms, their face melts into abstract art by the third second, and a swarm of flying fish inexplicably appears in the background. I was that victim screaming at my screen at 3 AM on New Year's Day 2026: “Why did it turn into a tentacle monster again?!”
I learned how to use Kling motion control the messy way: three late nights, 12 test clips, and a hard deadline. I'm not a VFX wizard, I just needed a reliable way to map a clean motion from one video onto a static character image without spending an hour per clip. Here's the exact workflow that took me from 45 minutes per attempt to 15–20 minutes end to end. Context: I tested this on the web beta on January 1 and again on January 5, 2026. No sponsor: if I ever use affiliate links, I'll say so clearly.
Before you start (checklist)
Pick a clean motion reference video
After analyzing many of motion-transfer successes across different tools, I found one pattern: the source motion matters more than anything.
Use a single subject, mid-frame, full body visible 80%+ of the time
Minimal background clutter: stable camera (tripod > handheld)
No occlusions (arms crossing face ruins tracking)
Motion type matches your intent (e.g., walking, turning, dancing, pointing)
A 3–6 second clip with steady rhythm gave me the best results.
Choose a sharp character image
Kling motion control struggles with low-detail inputs.
1024px+ on the short edge, sharp eyes, clear edges
Neutral background if possible (plain wall beats messy room)
Pose that aligns with the motion (don't pick a seated portrait for a running motion)
I batch-clean faces in advance. Quick tip: I drop my stills into Nemo to upscale and de-noise in one go, it's boring work AI can do well.
Step-by-step workflow
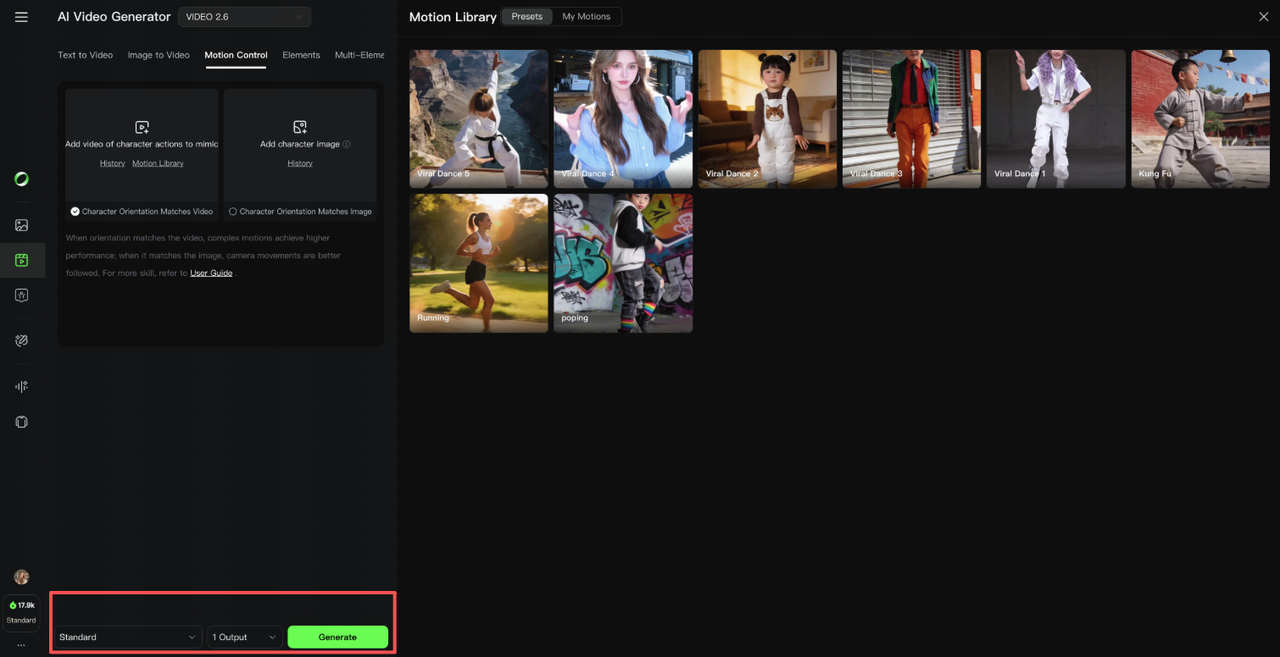
Upload image + motion video
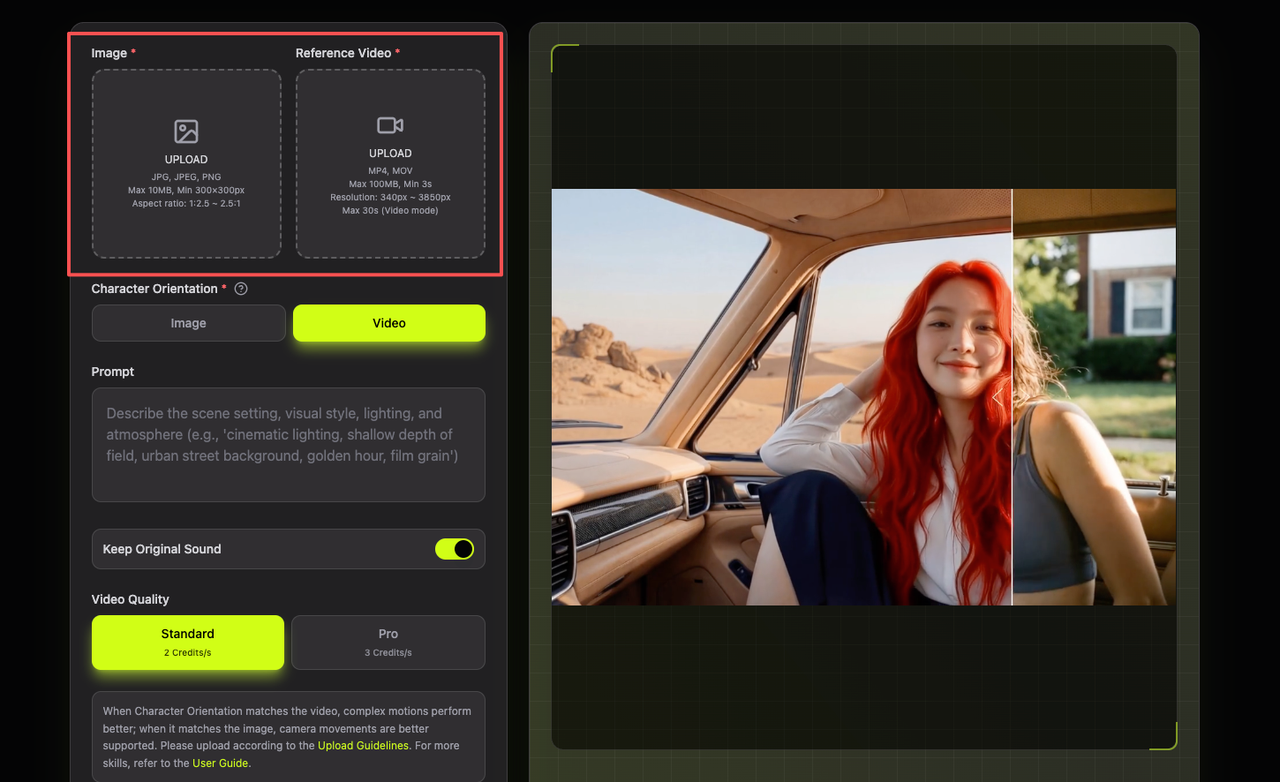
In Kling's motion control interface, select your character image (PNG/JPG) and the motion reference clip.
Keep filenames labeled by take (e.g., char_A_run01.jpg, motion_walk_smooth.mp4). Sounds obvious, but I mixed them up twice and chased the wrong failure.
Write a scene-first prompt (template)
I didn't know how to prompt for motion at first. What worked was describing the scene first, then camera, then style, keeping the motion description short so it doesn't fight the reference.
Describe environment in 1 line
Add camera behavior in 1 line
Lock style in 1–2 tags (e.g., realistic, anime, claymation)
Keep character traits consistent: clothing, hair, color palette
Choose aspect ratio (9:16 vs 16:9)
9:16 if you're publishing to TikTok/Reels/Shorts, saves reframing later
16:9 if you'll composite into a YouTube edit
If your motion reference is landscape and your final is portrait, pre-crop the motion to center the subject. I forgot once and got elbows chopped off.
Generate, review, iterate
My loop when learning how to use Kling motion control:
Generate a low-cost draft (short duration, default quality)
Watch for three failure cues: face warping, limb drift, jittery background
Fix one variable at a time (see "Settings that reduce failures" below)
Regenerate 2–3 variants, pick the cleanest base
Timing: first clean output now averages 12 minutes for me (down from 35). I measured across eight vertical clips on Jan 5, 2026. Where I truly save time is rough cuts and structural automation, I let Nemo auto-detect beat points in the motion reference so I can trim dead frames in seconds.
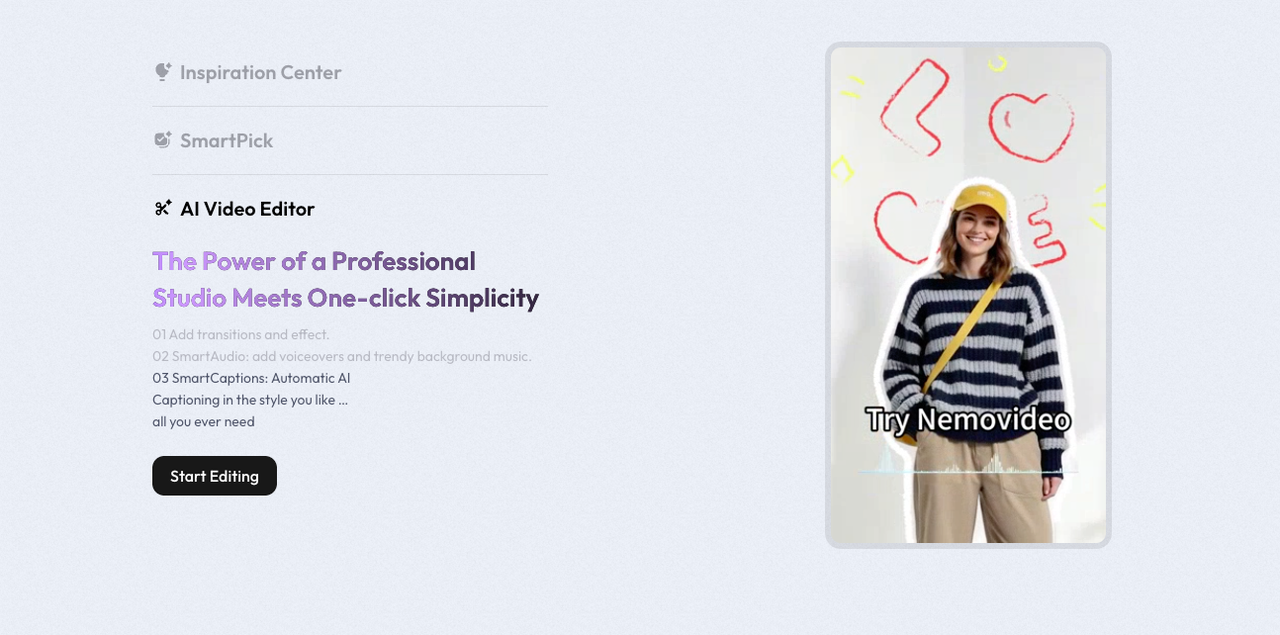
If you’re handling a lot of prep work around motion references, tools like Nemovideo can save time on the unglamorous parts — upscaling, denoising, stabilization, and quick trims — before you even touch Kling.
Prompt template (copy-paste)
Scene + camera + lighting + style
Copy, tweak, paste. Keep it short to avoid fighting the motion reference.
SCENE: indoors, minimalist studio backdrop, soft grey wall, no props. Character is [describe outfit/hair/colors].CAMERA: locked-off medium full shot, slight headroom, no zooms.
LIGHTING: soft key from camera-left, gentle rim light on right shoulder, no harsh shadows.
STYLE: [realistic/anime/illustrated/clay], clean edges, skin texture natural, subtle grain.
CONSISTENCY: maintain [character name]'s face identity, outfit colors, and hair shape. No background crowd.
MOTION: follow reference motion closely: keep limbs within frame.
If I need extra pop for TikTok, I add one tasteful element:
"subtle light flicker synced to beats" or "tiny confetti at final beat"
Don't stack fx here, structure matters more than special effects.
Settings that reduce failures
Duration, framing, background simplicity
Duration: Start at 3–4s. Longer clips compound drift. If it's for a 12s post, stitch three clean 4s chunks later.
Framing: Medium full shots track best. Extreme close-ups magnify face wobble: wide shots lose detail.
Background: Solid or lightly textured walls keep the model focused. Busy scenes invite jitter.
Face lock: If your take matters for identity (sponsorships, product shots), generate 2–3 seeds and pick the best face, don't waste time trying to "fix" a bad seed.
Seed control: When you like a look, lock the seed for consistency across variants.
5 common mistakes + fixes
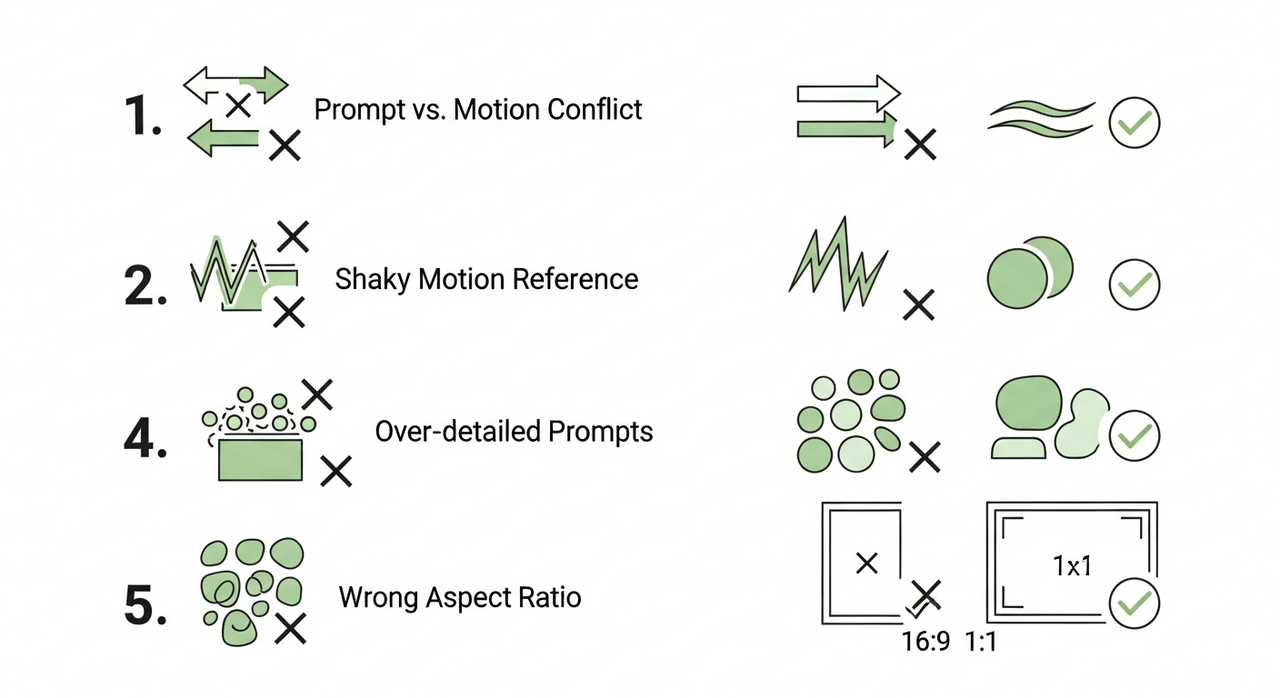
Prompt conflicts, shaky video, occlusion
Here's what tripped me up, and what fixed it.
Prompt vs motion conflict
Symptom: Character doesn't follow the dance: arms stay stiff.
Fix: Remove "dynamic camera pans/zooms." Keep camera locked so motion control takes priority.
Shaky motion reference
Symptom: Everything jitters, even on a tripod look.
Fix: Pre-stabilize the reference in your editor (or I run it through Nemo's auto-stabilize). According to Adobe's video stabilization guide, proper stabilization techniques ensure smooth motion transfer. Stable in = stable out.
Occlusion (arms crossing face)
Symptom: Face warps mid-gesture.
Fix: Pick a take with fewer face blocks, or shorten duration to the clean beats only.
Over-detailed prompts
Symptom: Weird artifacts (extra fingers, melting props).
Fix: Strip adjectives. Keep to scene/camera/lighting/style. Let the motion do the heavy lifting.
Wrong aspect ratio
Symptom: Hands/feet cut off in 9:16 exports.
Fix: Set 9:16 from the start. If your reference is 16:9, crop center before uploading.
Bonus note: I haven't tested green-screen compositing inside Kling yet. I'll update after I try a keyed background pass.
Next steps
If you're also racing against deadlines, or just want to turn a static image into a dynamic clip in no time, here’s the simplest path: Prepare clean reference videos and character images in advance, keep prompts concise (avoid conflicting with motion references), and iterate in small segments. Generate 3–4 seeds in batches, then select the best clips to assemble your final version. Don’t chase perfection, aim for “sufficiently functional and stable.”
We’d love to see what you’re creating! Have you tried Kling Motion Control recently? Hit any snags? Share your templates, tips, or your latest projects in our community, connect with fellow creators, get feedback, and level up your workflow: Join our Discord.
Want more tips, tools, and inspiration to take your videos to the next level? Explore all the latest Nemovideo features and tutorials here.