How to Install LTX-2 in ComfyUI (Step-by-Step)
If you searched "install ltx-2 comfyui" because you just want it working in under 20 minutes, same. I'm Dora, a creator first, not an engineer, and I only keep tools that help me post faster. I set up LTX‑2 with ComfyUI on my RTX 3060 (12 GB VRAM) and timed everything, what worked, what broke, and the settings I now use for stable first runs.
I'll call out version‑specific stuff and where I'm not 100% sure so you're never guessing. The goal: get a known‑good workflow rendering frames without spending your night in dependency hell.

Before you start
Hardware checklist (VRAM, disk)
GPU: NVIDIA card with at least 8 GB VRAM. 12 GB+ makes life easier. On my 12 GB 3060, I can generate 576×320 @ 16–24 frames without OOM. On an 8 GB 2060 Super, I had to drop to 384×216 and fewer frames.
Disk space: Keep 12–20 GB free for model weights, caches, and outputs.
RAM: 16 GB is comfortable: 8 GB works with smaller settings.
Software prerequisites (ComfyUI / Python / CUDA)
OS I tested: Windows 11 Pro 23H2. Linux (Ubuntu 22.04) also works but steps differ slightly.
Python: 3.10 or 3.11. I avoid 3.12 for ComfyUI right now due to extension compatibility.
CUDA/Drivers: NVIDIA driver compatible with CUDA 12.x. Check with
(driver version) and match to CUDA compatibility. PyTorch should be a CUDA build that matches your driver.nvidia-smiComfyUI: Fresh pull or recent build. I used ComfyUI commit.
Why this matters: most "it won't run" tickets come from Python 3.12, CPU‑only torch by accident, or a driver/CUDA mismatch.
Common setup traps to avoid
Mixing CPU and CUDA wheels: If
installs CPU‑only, ComfyUI will start but LTX‑2 won't load on GPU. Always verify CUDA.torchWrong model folders: Some nodes expect very specific subfolder names. If the workflow can't find weights, it silently fails or spams red errors.
Old extensions: Update nodes before blaming your GPU.
Oversized first run: Don't test with 1024×576 @ 48 frames. Start tiny to prove the pipeline works, then scale.
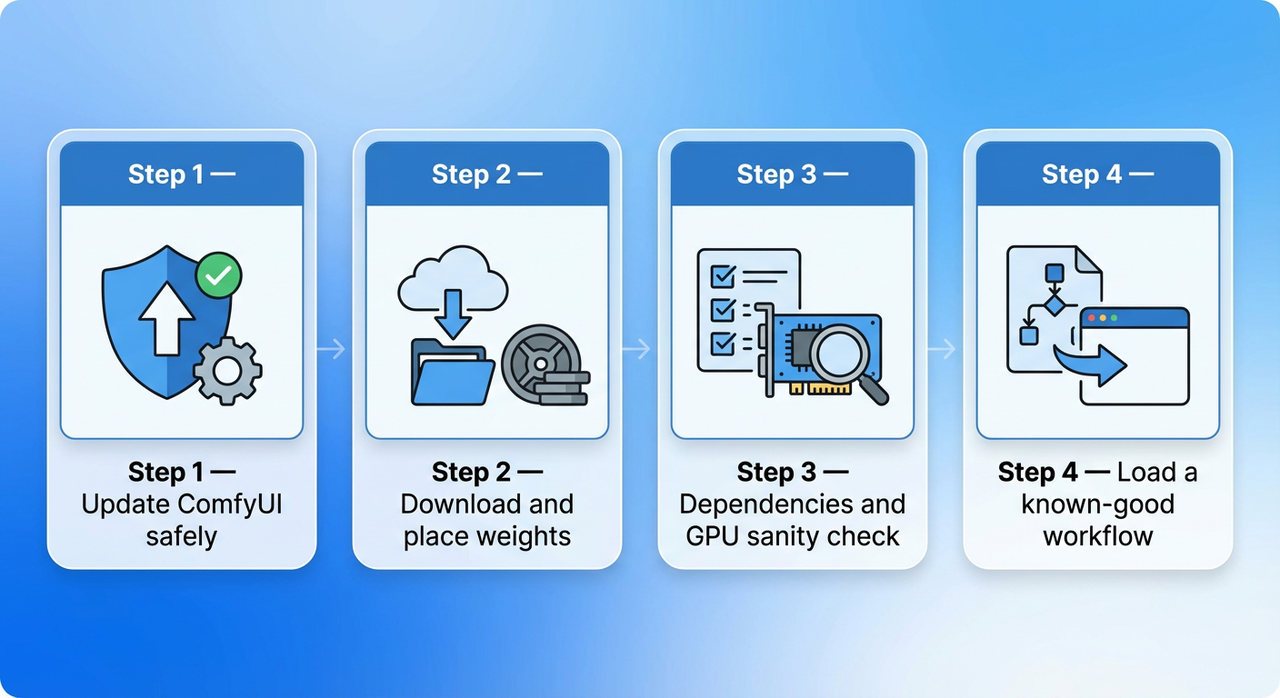
Step 1 — Update ComfyUI safely
Version check
From your ComfyUI folder, confirm you're on a recent commit. If you cloned via Git:
to make sure you're on the main repo, not a stale fork.git remote -vExtensions: open
and list what you've got. Outdated custom nodes cause 80% of weirdness, in my experience.ComfyUI/custom_nodes/
Clean update process
Backup first: zip your
folder or at least copyComfyUI
andcustom_nodes
somewhere safe. Took me ~2 minutes.modelsUpdate core:
in the ComfyUI root. If you downloaded a zip originally, re‑download a fresh release from the official repo and copy your models back in.git pullUpdate dependencies: in your ComfyUI venv, run
(Windows PowerShell or terminal). I also add the correct PyTorch CUDA wheel explicitly to avoid auto‑installing CPU wheels.pip install --upgrade -r requirements.txt
Time saved tip: A clean pull + explicit torch install saved me ~30 minutes of later debugging.
Step 2 — Download and place weights
What to download (minimum set)
LTX‑2 depends on a base checkpoint plus a few companions (names vary by node pack). At minimum you'll need:
The LTX‑2 base model (text‑to‑video or video diffusion checkpoint)
A compatible VAE (often bundled, sometimes separate)
A text encoder (e.g., CLIP) if the node requires a specific variant
Any motion/temporal modules the node calls for
I can't share third‑party download links here, but the correct filenames and sources are always listed in the LTX‑2 ComfyUI node repo's README. Search "ComfyUI LTX‑2 nodes" or check the official model release page you're using. If a README lists SHA256 hashes, verify them, saves you from corrupt downloads.
Where to put files (paths)
Folder names differ by node pack. Common patterns I've seen:
Base model:
ComfyUI/models/checkpoints/VAE:
ComfyUI/models/vae/Text encoders:
orComfyUI/models/clip/ComfyUI/models/text_encoders/Motion/temporal modules:
or a node‑specific folder likeComfyUI/models/animatediff/ComfyUI/models/ltx_video/
Exact paths are in the node README. If the workflow can't find a model, open the node's model picker inside ComfyUI and note the expected folder: move the file accordingly. I spend 2–3 minutes here and it prevents 10+ minutes of error chasing later.
Step 3 — Dependencies and GPU sanity check
CUDA / driver mismatch symptoms
ComfyUI boots but first generation throws "device-side assert" or "no kernel image is available."
returns False even though you have an NVIDIA GPU.torch.cuda.is_available()VRAM usage doesn't spike during generation (means you're not actually hitting the GPU).
If you hit any of the above, confirm:
Your driver supports the CUDA version your PyTorch wheel expects.
You installed the CUDA‑enabled PyTorch, not CPU‑only.
Quick verification commands (conceptual)
Check driver: run
and note the driver version (e.g., 555.xx) and CUDA compatibility.nvidia-smiCheck torch build: in your ComfyUI virtual environment,
. You wantpython -c "import torch: print(torch.version.cuda, torch.cuda.is_available())"
.(e.g., '12.1', True)Basic GPU test: in ComfyUI, load any simple SDXL image workflow and generate a tiny 512×512 sample. If that works on GPU, your stack is fine for LTX‑2.
I'm not a tech geek, but I've identified a pattern: getting torch+driver aligned fixes 9/10 "it won't run" messages in my DMs.
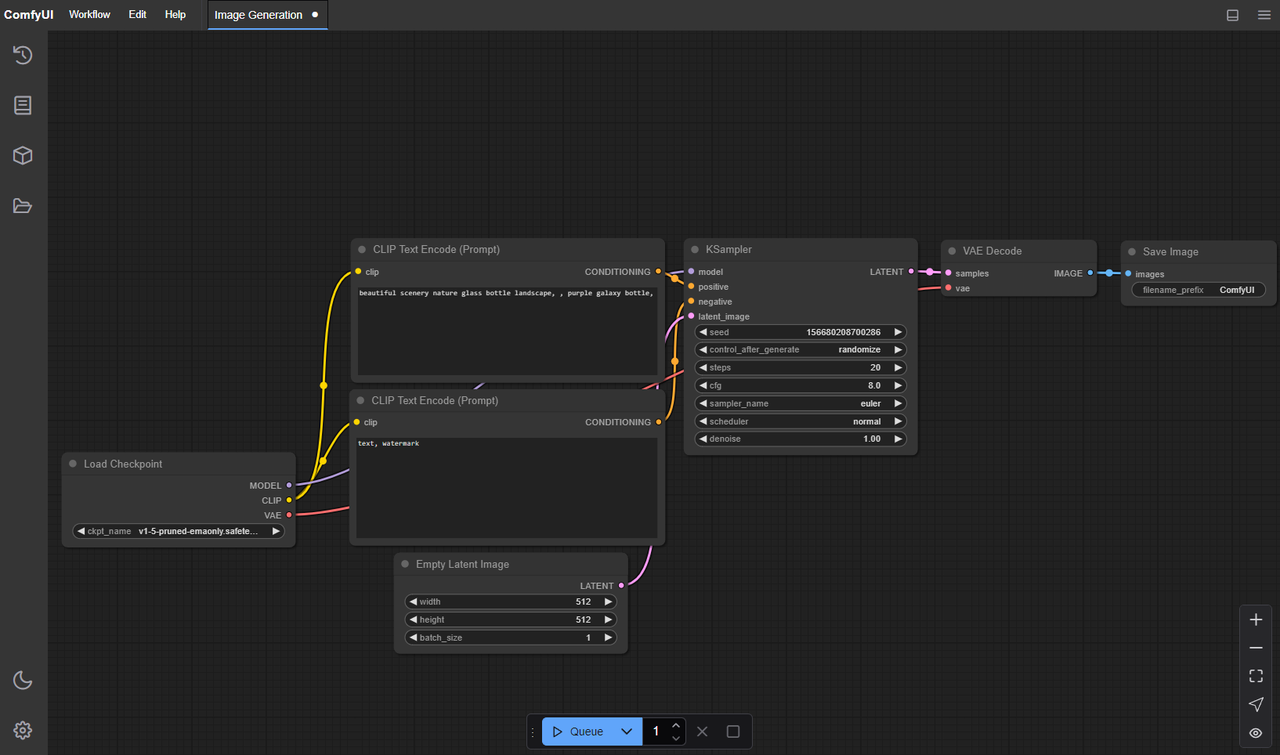
Step 4 — Load a known-good workflow
Import workflow
Install the LTX‑2 custom nodes per the node repo instructions (usually clone into
). Restart ComfyUI so it scans new nodes.ComfyUI/custom_nodes/YourNodeNameImport the example LTX‑2 workflow JSON provided by the node repo. In the ComfyUI UI: Load > select the JSON. This matters because wiring nodes manually on your first run is how you lose an hour.
First-run settings (safe defaults)
Start small to prove the pipeline:
Resolution: 448×256 or 576×320
Frames: 12–16
Steps: 12–20
CFG/Guidance: keep default from the example
Sampler: use the sampler in the example (they picked it for stability)
Precision: fp16 if your GPU supports it
On my RTX 3060 12 GB, a 576×320, 16‑frame clip takes ~65–90 seconds on first run (cache cold) and ~45–70 seconds after.
How to confirm success
No red errors in the console after you click Generate.
VRAM jumps by several GB in
during render.nvidia-smiYou get a playable MP4/PNG sequence (some workflows save both). If you only see individual frames, that's fine, some nodes save the video with a separate "Combine frames to video" node.
You can replicate directly using this rhythm: prove the pipeline at tiny size → double frames → increase resolution. Don't jump straight to 1024p unless you like OOM roulette.
Troubleshooting install failures
Missing dependencies
Symptom: Node not found or grayed‑out nodes. Fix: reinstall the LTX‑2 node repo, then read its README for extra
lines. Many video nodes needpip install ...
on PATH. On Windows, I use Chocolatey or add theffmpeg
folder to PATH manually. Verify by runningffmpeg/bin
.ffmpeg -versionSymptom: "No module named xformers" or similar. Fix: install compatible versions (
). Only if the node requires it, don't add random libs.pip install xformers==[version matching your torch]
Path errors
Symptom: "Model not found" or fallback to CPU. Fix: check the node's model dropdown to see the exact folder it's scanning. Match your file path and filename (some nodes are picky about extensions).
Quick test: temporarily place the model in
with a short filename. If it's detected there, your original subfolder name was off.ComfyUI/models/checkpoints/
Version conflicts
Symptom: ComfyUI crashes on launch after adding the LTX‑2 node. Fix: rename the new node folder to
and relaunch. If it boots, the node is the issue, pull the latest commit of that node._disabled-YourNodeNameSymptom: Workflow example won't load. Fix: update both ComfyUI core and the LTX‑2 node to their latest versions that match each other. Read the repo's "Tested on" section, most maintainers list a date/commit.
What I measure: each fix attempt gets 5 minutes. If it's still broken after three attempts, I revert to a known working snapshot (the backup you made earlier) and re‑apply one change at a time. Saves sanity.
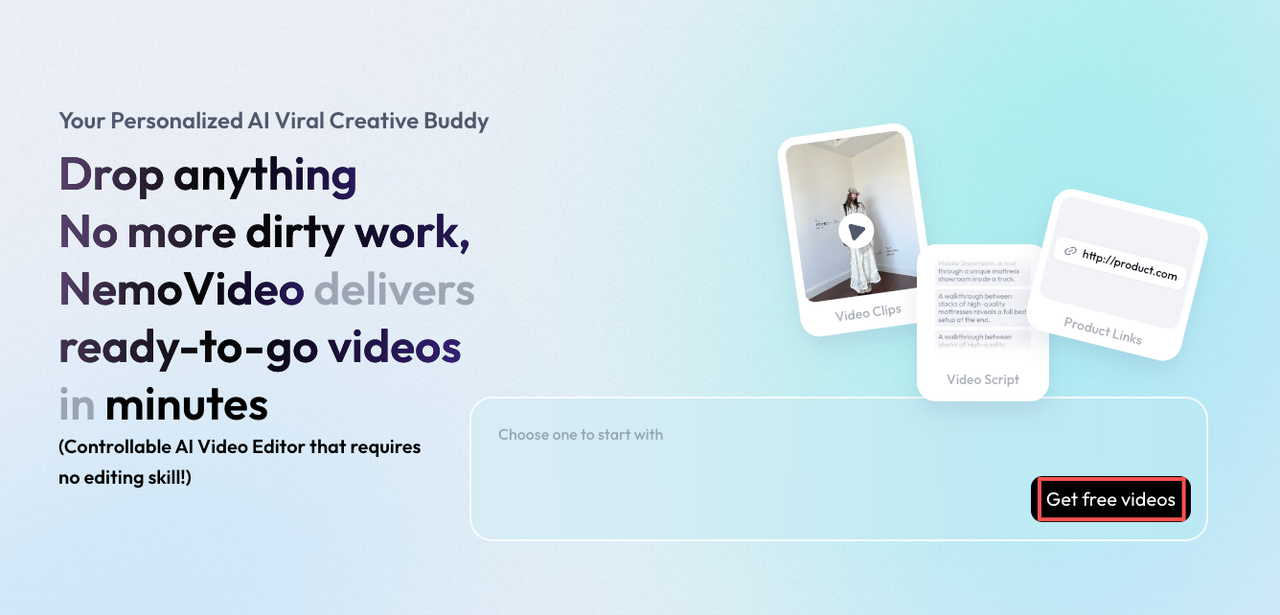
If setup is too much
If you just want to skip local setup and stay focused on output, I sometimes offload timing, rough cuts, and structure to NemoVideo. It handles the boring prep so I can spend GPU time on actual renders.
"Skip configuration" option (soft handoff)
If you're drowning in deadlines, it's okay to punt. A Creator's workflow can actually be rebuilt with AI, but only if the setup doesn't eat your week.
Here are realistic shortcuts I've used when I just need results:
Portable builds or cloud runtimes: Some communities share pre‑bundled ComfyUI + nodes. I only use ones with clear version notes (date + commit). It's faster than wrestling with CUDA.
Colab/RunPod templates: Spin up a GPU with an LTX‑2 notebook, paste your prompt/assets, render, download. You pay per hour, but there's zero driver drama.
My current method for batch work, I feed a reference clip into my AI assistant to replicate its structure, then render variations. Where I truly save time is rough cuts and structural automation. I've used NemoVideo to auto‑detect rhythm points and build a template timing map: then I slot in LTX‑2 shots. This is optional and not required for LTX-2 itself. It doubled my speed on a 10‑video batch because I wasn't hand‑timing cuts.
If you only want LTX‑2 looks without the install headache, this route is worth trying. And if you do try local again later, keep this mindset: efficiency over perfection. Get one tiny render out, then scale.